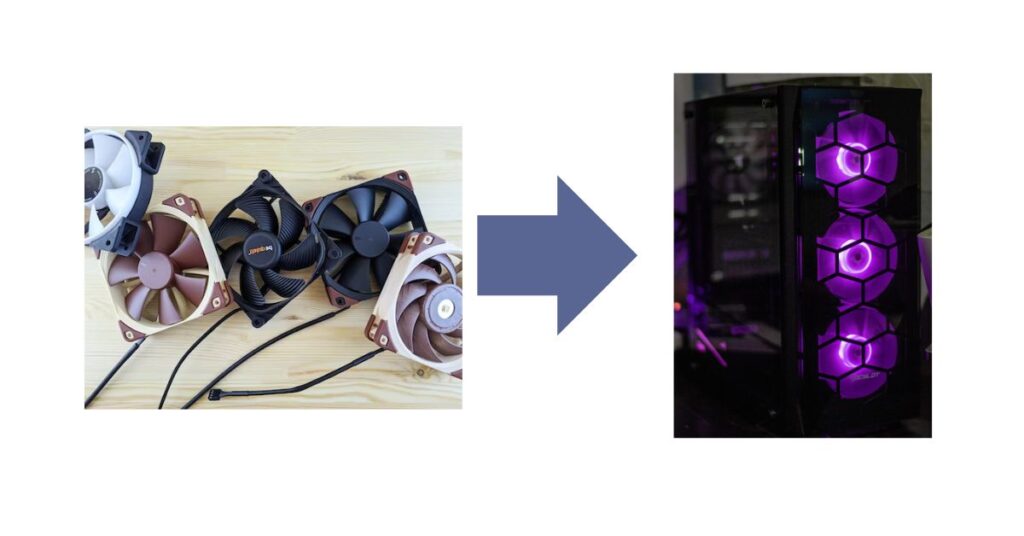
Connecting case fans to the motherboard is a crucial step in optimizing your system’s cooling performance. Efficient cooling is essential for maintaining stable temperatures and extending the lifespan of your components.
In this guide, we’ll explore the straightforward process of connecting case fans to the motherboard. From identifying the appropriate fan headers to understanding the importance of proper orientation, we’ll cover the basics to ensure you achieve optimal airflow.
Whether you’re a novice PC builder or looking to enhance your rig’s cooling capabilities, mastering the art of connecting case fans is a fundamental skill for a smoother and more reliable computing experience.
Table of Contents
Do my case fans need to be connected to my motherboard?
Yes, connecting case fans to your motherboard is essential for effective and controlled cooling. While some fans can be powered directly through the power supply unit, connecting them to the motherboard provides several advantages. Motherboard connections allow for dynamic speed control based on temperature fluctuations, ensuring optimal cooling without unnecessary noise.
Moreover, it enables the monitoring of fan speeds and facilitates compatibility with software that lets you customize cooling profiles. In essence, connecting case fans to the motherboard is not just a matter of convenience but a strategic step in achieving an efficient and well-regulated cooling system for your PC.
Should I plug case fans into the motherboard or fan controller?
Plugging Case Fans: Motherboard vs. Fan Controller
Motherboard Connection:
- Temperature-Based Control: Connecting case fans to the motherboard allows for temperature-based speed adjustments, ensuring efficient cooling in response to system heat.
- Software Integration: Motherboard connections enable synchronization with system monitoring software, providing real-time data on fan speeds and temperatures for better control.
- Customization: Many motherboards offer customizable fan profiles, letting you tailor cooling performance according to your specific needs or preferences.
- Convenient Cable Management: Connecting fans to the motherboard simplifies cable management, reducing clutter and contributing to an organized PC build.
Fan Controller:
- Independent Control: Fan controllers provide independent control over fan speeds, allowing manual adjustments without relying on the motherboard’s automated settings.
- Expandability: Dedicated fan controllers often offer more ports than motherboards, accommodating additional fans for extensive cooling configurations in high-performance systems.
- Compatibility: Some high-performance or RGB fans may come with proprietary connectors designed for dedicated fan controllers, ensuring optimal compatibility.
- Reduced Load on Motherboard: Offloading fan management to a dedicated controller can reduce the load on the motherboard, particularly in systems with a high number of fans.
Considerations:
- Hybrid Approach: Some users opt for a hybrid approach, connecting vital fans to the motherboard for temperature control and additional fans to a dedicated controller for manual adjustments.
- System Requirements: Assess your PC’s requirements, considering the number of fans, cooling needs, and the level of control you desire before deciding between motherboard and fan controller connections.
The choice between connecting case fans to the motherboard or a fan controller depends on your specific needs, preferences, and the complexity of your cooling setup. Each option offers distinct advantages, so weigh the features that align with your system’s demands for optimal cooling performance.
Can Motherboard Boot Without RAM?
Read this helpful article on your computer as well.
How Many Fans Can I Plug Into My Motherboard?
The number of fans you can plug into your motherboard depends on the available fan headers and the overall power delivery capacity of the motherboard typically (8 – 10). Here’s what you need to consider:
- Fan Headers:
- Header Types: Motherboards typically have different types of fan headers, such as CPU fan headers, system fan headers, and sometimes additional headers like AIO pump headers.
- Header Limitations: Check the motherboard manual to determine the number and types of fan headers available. Each header can usually support one fan, but some headers are designed for more specific purposes, like powering the CPU cooler fan.
- Power Draw:
- Fan Power Consumption: Consider the power draw of the fans you plan to install. Most standard-case fans have relatively low power requirements, but high-performance or RGB fans may consume more power.
- Total Power Capacity: Ensure that the total power draw of all connected fans does not exceed the motherboard’s power delivery capacity for fan headers.
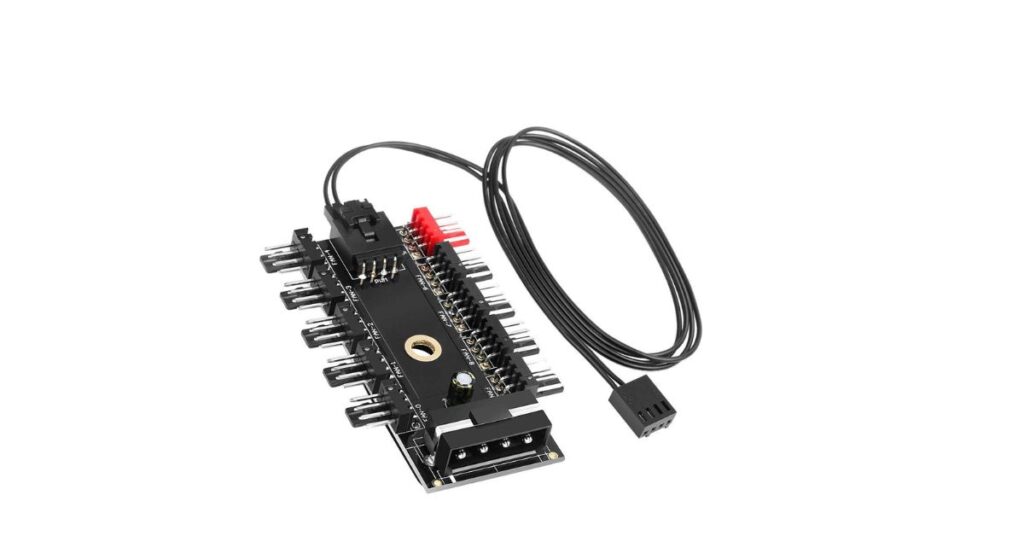
- Splitters and Hubs:
- Fan Splitters: If you run out of available fan headers, you can use fan splitters to connect multiple fans to a single header. However, be mindful of the total power draw limitations.
- Fan Hubs: Some users opt for fan hubs, which connect to a single motherboard header but can support multiple fans. These hubs often require external power and offer centralized fan control.
- PWM vs. Voltage Control:
- PWM Fans: If your motherboard supports PWM (Pulse Width Modulation) control, you can use PWM fans for more precise and dynamic speed adjustments.
- Voltage Control: If your motherboard only supports voltage control, consider this when choosing fans or using fan hubs that are compatible with voltage control.
Before connecting multiple fans, always refer to your motherboard’s manual for specific details on fan headers, power delivery capabilities, and any recommended practices for fan installation. This ensures you maintain optimal performance and prevent overloading the motherboard’s fan control circuitry.
Now step to connect case fans to the motherboard
Connecting case fans to the motherboard is a straightforward process. Follow these steps to ensure a proper and efficient setup:
- Identify Fan Headers:
- Locate the fan headers on your motherboard. Common labels include “CHA_FAN” (system fan) and “CPU_FAN” (CPU fan).
- Check the motherboard manual to understand the specific functions of each header.
- Count Available Headers:
- Determine the number of available fan headers on your motherboard. This helps you plan the placement and connection of your case fans.
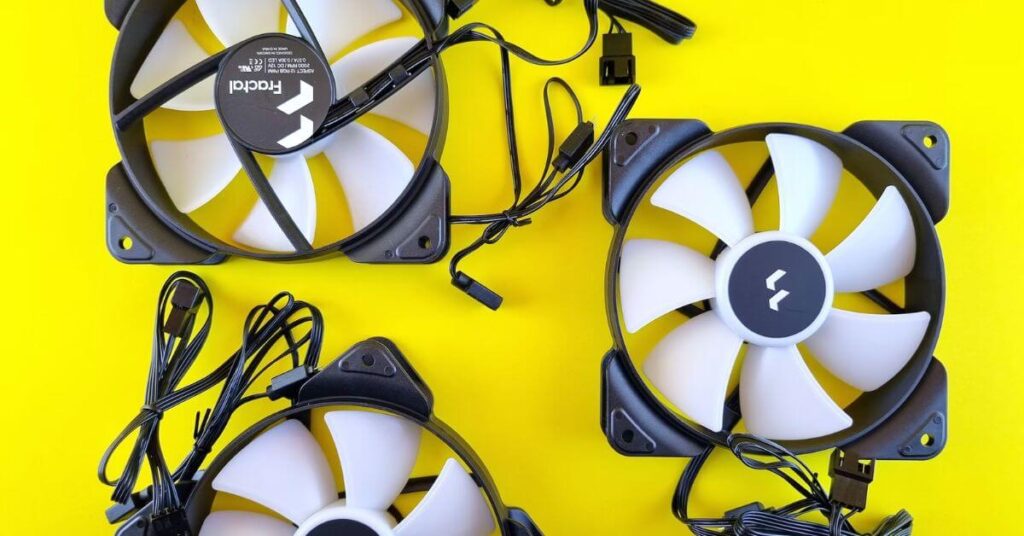
- Check Fan Connector Types:
- Ensure your case fans have the correct connector type that matches the fan headers on your motherboard. Most fans use either 3-pin or 4-pin connectors.
- Position the Fans:
- Decide where you want to position your case fans for optimal airflow. Common locations include the front, rear, and top of the case.
- Consider the direction of airflow (intake or exhaust) and the placement’s impact on overall system cooling.
- Connect Fans to Headers:
- Plug the fan connectors into the corresponding fan headers on the motherboard. Align the tab on the connector with the groove on the header to ensure a secure connection.
- If you’re using PWM fans, connect them to PWM-enabled headers for more precise speed control.
- Cable Management:
- Organize and secure fan cables using cable ties or routing them through designated cable management channels in your case.
- Avoid blocking airflow or creating tangles that could interfere with other components.
- Adjust BIOS/UEFI Settings (Optional):
- Access your motherboard’s BIOS/UEFI settings to configure fan control options if necessary.
- Set up temperature-based fan speed adjustments or customize fan curves based on your preferences.
- Power On and Test:
- Power on your computer and ensure that all connected fans are functioning.
- Monitor fan speeds and temperatures through your motherboard’s monitoring software or the BIOS/UEFI interface.
- Consider Additional Features:
- Explore any additional features your motherboard may offer, such as RGB lighting control for fans with RGB capabilities.
- If needed, install software provided by the motherboard manufacturer to enhance fan control and monitoring.
By following these steps, you’ll successfully connect your case fans to the motherboard, promoting efficient cooling and maintaining optimal system temperatures.
Can You Use Any Motherboard For Gaming?
Read this helpful article on your computer as well.
Where do you connect a 3-pin fan?
Connect a 3-pin fan to a corresponding 3-pin fan header on the motherboard. Align the tab on the fan connector with the groove on the header for a secure connection. If PWM (4-pin) headers are unavailable, the 3-pin fan can still function using voltage control.
Can a 3-pin fan be connected to a 4-pin fan?
Yes, a 3-pin fan can be connected to a 4-pin fan header on the motherboard. The 4-pin header controls power and PWM (Pulse Width Modulation). When connecting a 3-pin fan, align it with the first three pins of the 4-pin header, leaving the fourth pin unoccupied. The fan will operate using voltage control, adjusting its speed based on the motherboard’s voltage output rather than PWM signals. While it works, note that PWM fans provide more precise speed control compared to voltage-controlled fans.
Troubleshooting and Tips

1. Non-Responsive Fans:
- Check Connections: Ensure fan connectors are securely plugged into the correct headers, aligning pins properly.
- Power Supply: Confirm that the power supply unit is supplying power to the motherboard and fans.
2. Incorrect Fan Speeds:
- BIOS/UEFI Settings: Adjust fan speed settings in the BIOS/UEFI to ensure proper control. Verify that the headers support PWM if using PWM fans.
- Software Control: Use motherboard software to fine-tune fan speed curves for temperature-based adjustments.
3. Too Many Fans, Not Enough Headers:
- Fan Splitters: If you lack sufficient headers, use fan splitters to connect multiple fans to a single header. Be mindful of total power draw limitations.
- Fan Hubs: Consider using a fan hub with external power for centralized control of multiple fans.
Cable Management Issues:
- Cluttered Cables: Organize fan cables to prevent clutter. Use cable ties or channels in the case for neat cable management.
- Airflow Obstructions: Avoid blocking fan blades or creating tangled cables that may obstruct airflow.
Incompatible Connector Types:
- Check Compatibility: Ensure the fan connectors match the header types on the motherboard. 3-pin fans can connect to 4-pin headers, but the reverse may require an adapter.
- Adapter Use: If necessary, use adapters to match connector types while maintaining functionality.
Fan Not Detected or Recognized:
- BIOS/UEFI Update: Ensure your motherboard’s BIOS/UEFI is updated to the latest version, as updates may include improved fan control support.
- Driver Installation: Install any required drivers or software provided by the motherboard manufacturer for enhanced fan control.
Fan Noise Issues:
- Dust Accumulation: Regularly clean fans and heatsinks to prevent dust buildup, which can contribute to increased fan noise.
- Replace or Lubricate: If a fan is unusually noisy, consider replacing it or lubricating the bearings if applicable.
RGB Lighting Troubles (if applicable):
- RGB Headers: Connect RGB-enabled fans to the appropriate RGB headers on the motherboard.
- Software Control: Utilize motherboard or third-party software for RGB lighting customization and synchronization.
Conclusion
In conclusion, connecting case fans to the motherboard is a fundamental aspect of optimizing your PC’s cooling system. By following simple steps, such as identifying fan headers, choosing appropriate connectors, and organizing cables, you can enhance airflow and maintain optimal temperatures for your components.
Troubleshooting common issues, such as non-responsive fans or incorrect speeds, ensures a smooth setup. Whether utilizing PWM or voltage control, understanding your motherboard’s capabilities, and utilizing features like fan splitters or hubs can accommodate various fan configurations. Ultimately, a well-connected and properly configured fan system contributes to a stable, efficient, and reliable computing experience.
Frequently Asked Questions
How do I control fan speeds once they are connected?
Fan speeds can be controlled through the BIOS/UEFI settings on your motherboard. Use temperature-based curves or manual adjustments. Some motherboards also offer dedicated software for more precise control.
What if my motherboard doesn’t have enough fan headers?
Use fan splitters to connect multiple fans to a single header. Alternatively, consider using a fan hub with external power for centralized fan control.
Can I use adapters for different connector types?
Yes, adapters are available to match different connector types. Ensure compatibility and functionality are maintained when using adapters.
What if my fans are not detected by the motherboard?
Check the connections and ensure proper seating of fan connectors. Update your motherboard’s BIOS/UEFI to the latest version and install any required drivers or software.
How can I manage cable clutter when connecting multiple fans?
Organize cables using cable ties and utilize cable management channels in the case to prevent clutter and maintain optimal airflow.
Are fan hubs necessary, and how do they work?
Fan hubs are not essential but can be useful for managing multiple fans from a single connection point. They often require external power and provide centralized fan control.
What’s the difference between PWM and voltage-controlled fans?
PWM fans use Pulse Width Modulation for precise speed control, while voltage-controlled fans adjust speed based on the voltage supplied by the motherboard. PWM fans generally offer more accurate control.
How can I troubleshoot noisy fans?
Regularly clean fans to prevent dust buildup, which can contribute to noise. If a fan remains noisy, consider replacing it or lubricating the bearings if applicable.